måndag 14 maj 2012

The BIB is Done!

Finally I got the time for this last post of the Bib. 

Last time I almost put all the pieces together on the front and the back, the only thing that is left is the straps and putting the back and the from pieces together. So I start with the inner leg seam, I've realized that it's much better to do the overlock after you put the pieces together. 


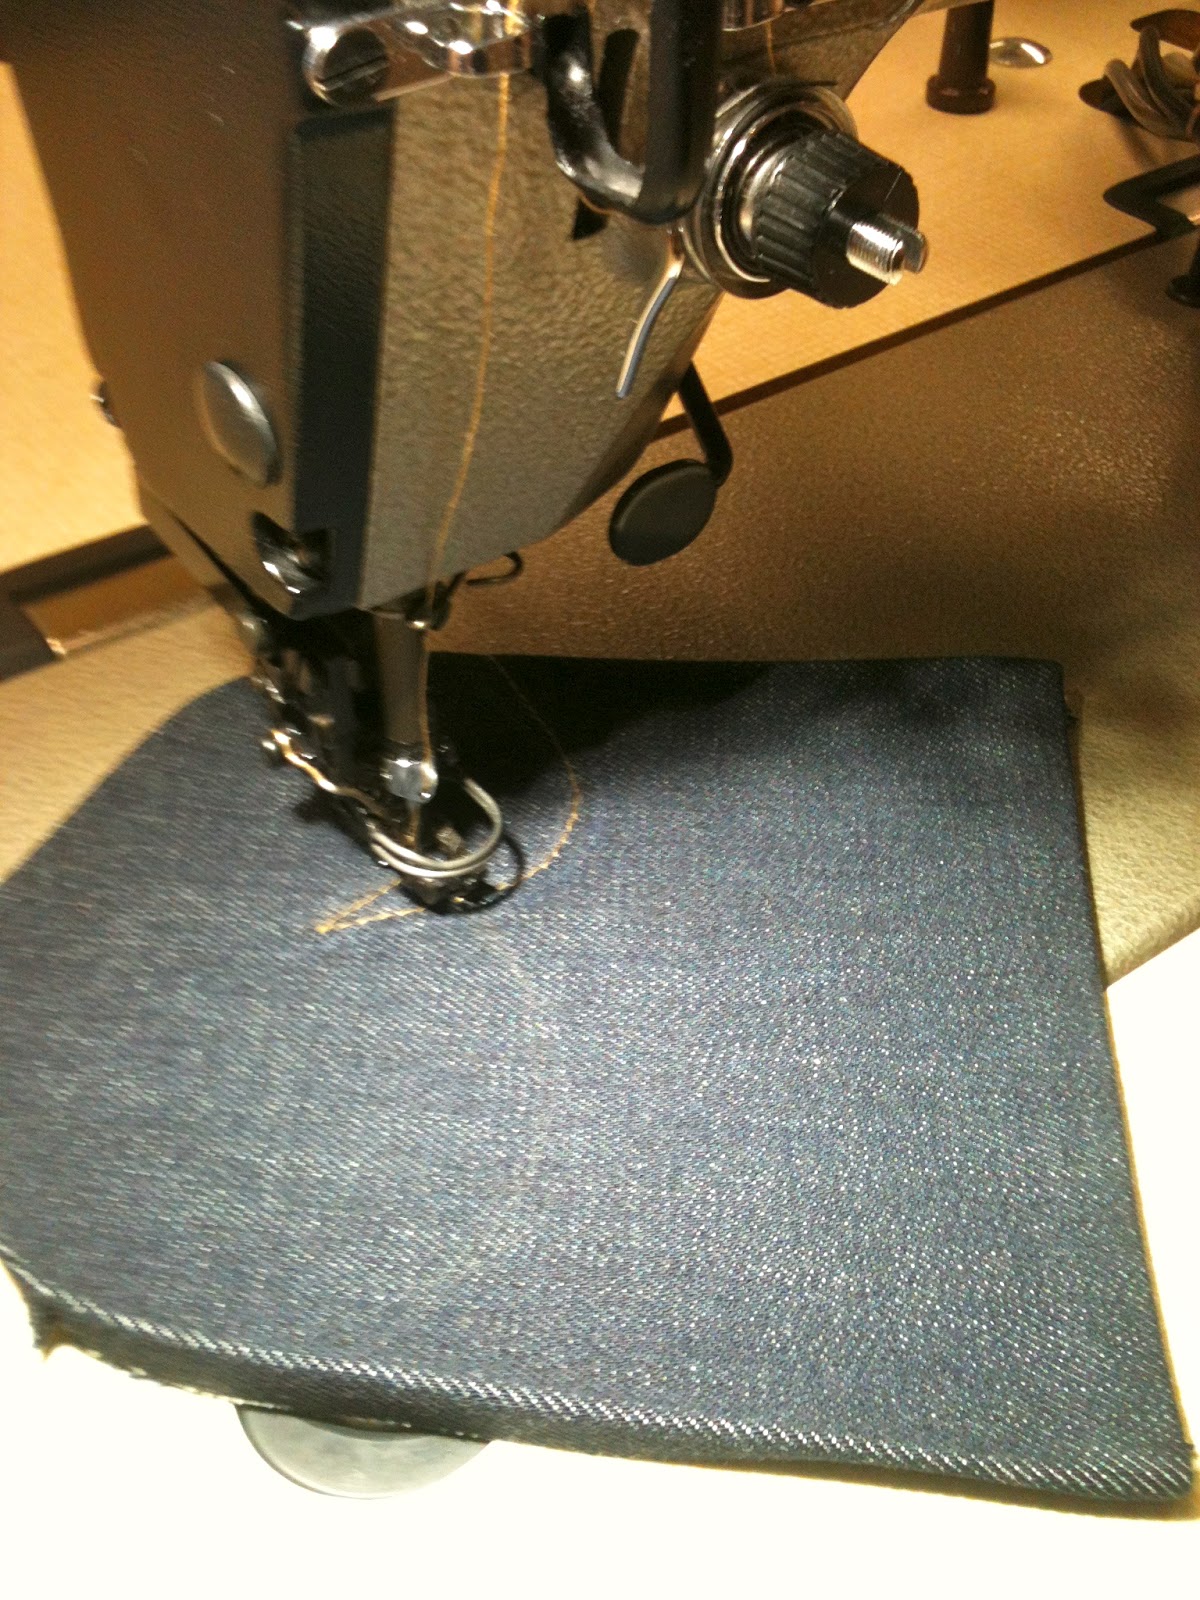
Making the really long inner leg stitch.


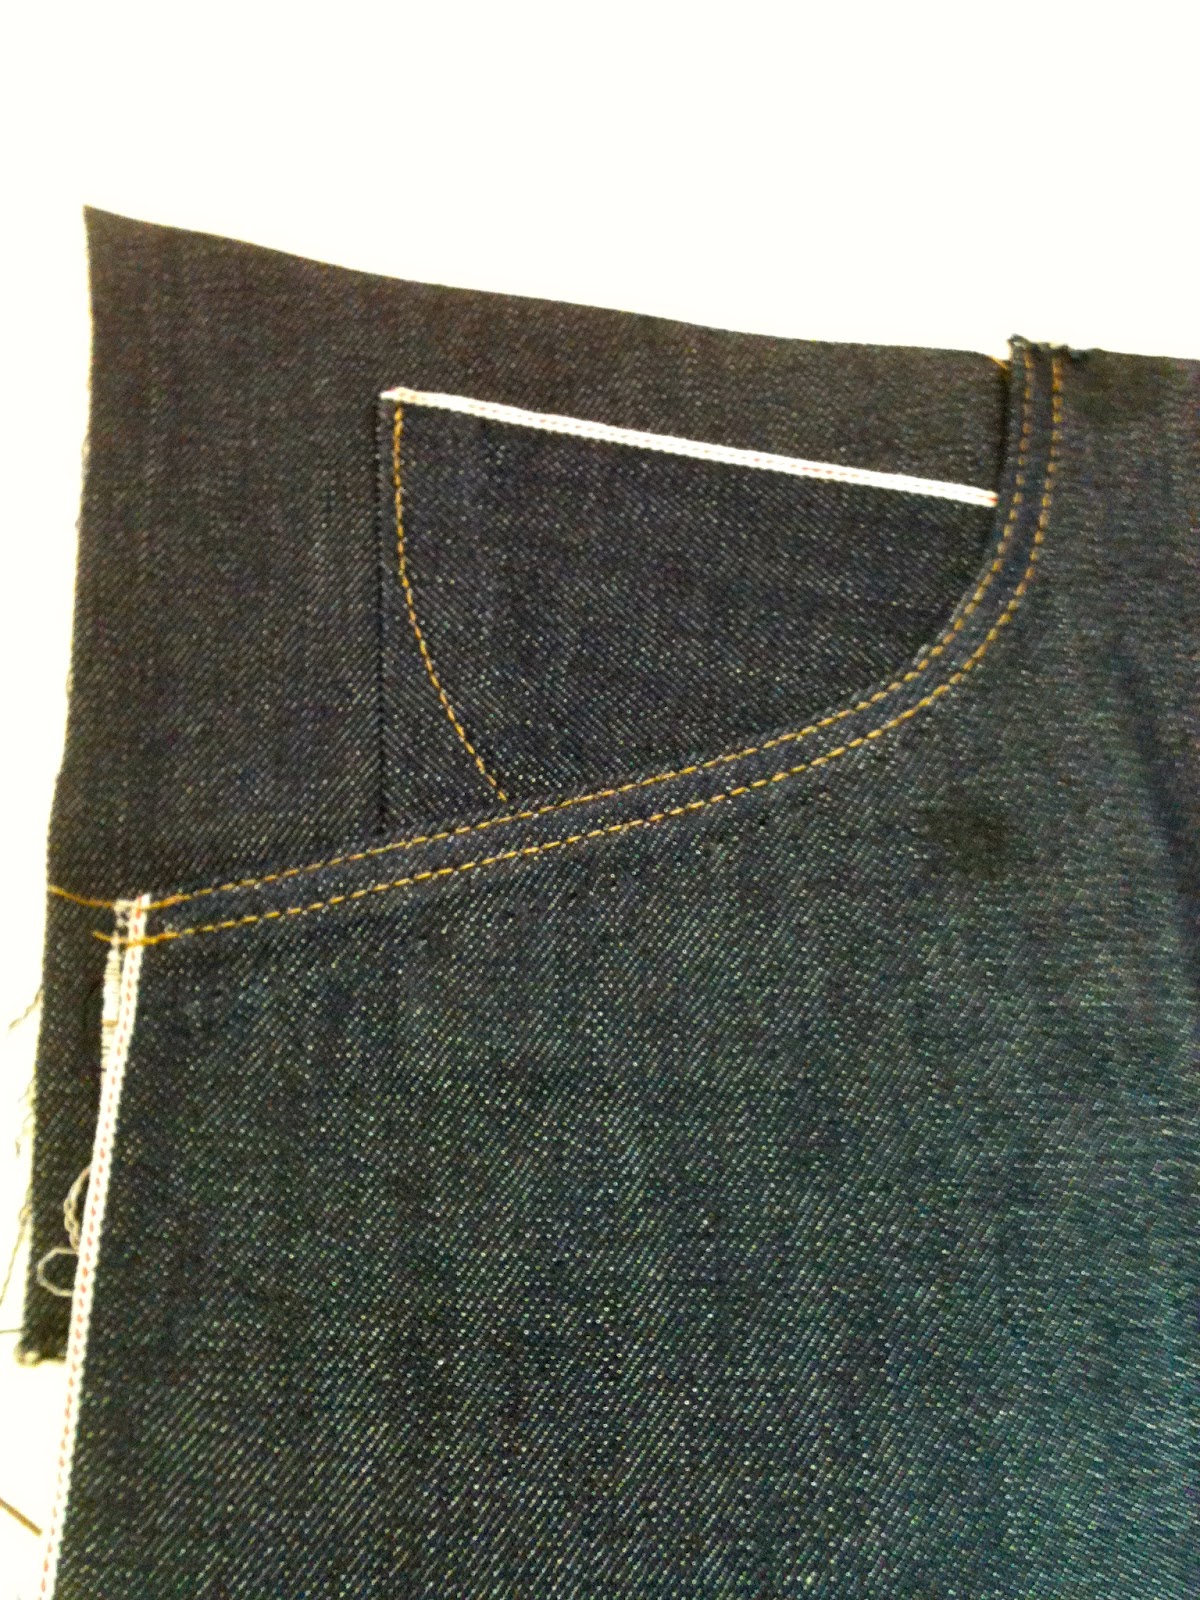
Attaching a tool pocket. I actually almost forgot to make this so a smart thing would have been to attach it before the inner leg seam. The tool pocket will be strengthen with the outer leg seam.  
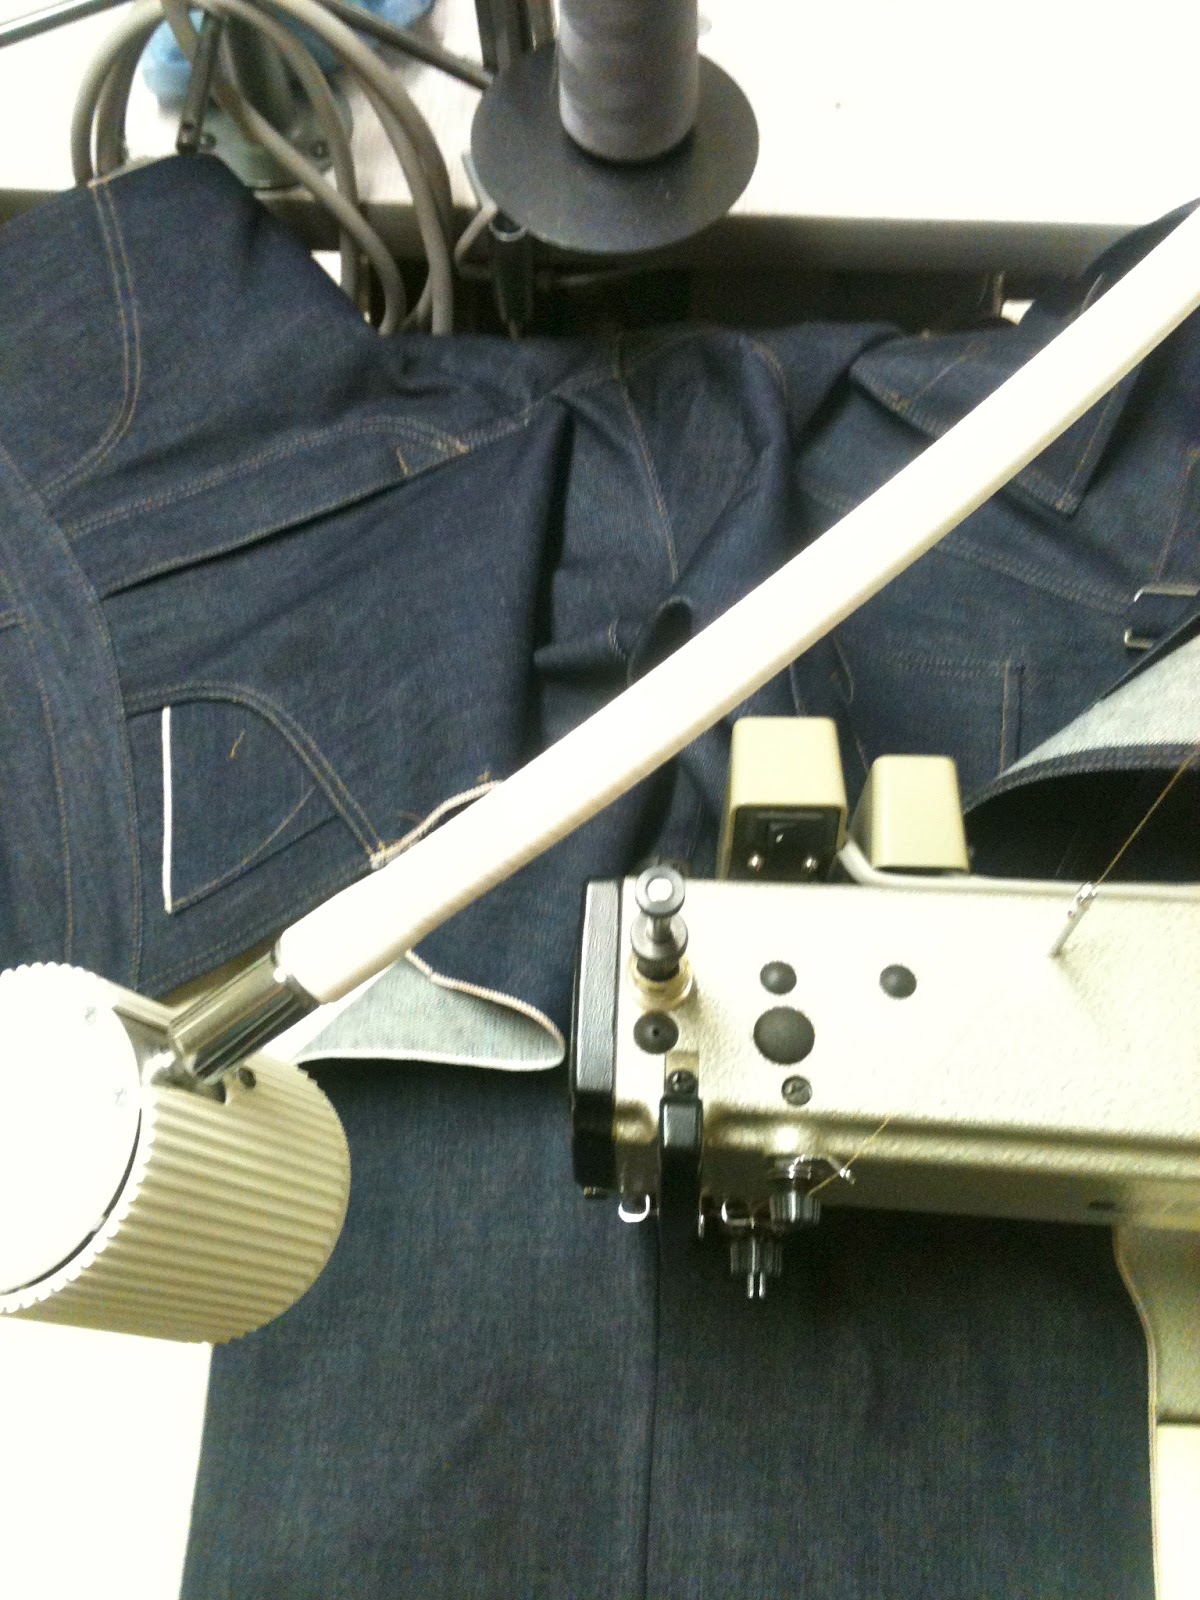

The outer leg seam.


And the bib is done. I didn't have any pic's on my phone from the making of the strap...sorry.


That's it on the bib. 

måndag 7 maj 2012

The BIB project part two

Today I did my first day on my internship at Indigofera, nice to finally getting started and I think that I'm going to have a really good time there. But more on the internship later on. Now over to the BIB that I actually manage to finalize before my trip to Stockholm. You can see a pic on the final result on our Facebook page.


Since nether I ore my "teacher" had done something like this before I had to guess my self to a lot of stuff.  A thing I did different from the pants is that I started by putting both the back pieces together, and I did that because I didn't have a yoke that I could measure the pocket placing from. But I attached a "yoke cinch" instead. And from that I can measure out where the placing of my back pockets should be.


Free handing the arcuate.


Adding the back pockets and also locking the tool hanger in the pocket stitch.


I'm still practicing on the rounded pockets and with thees one's I'm kinda pleased.


Attaching the back with a folded seam. Now with hindsight I would also have had the straps cut out in the same pattern piece as the back. And this is something that I would have figured out if I had done a toil... But that's whats happened when you don't have enough time.


Now over to the front. Here is the watch pocket.


Attaching the front pocket linings and locking them with a double stitch.


Adding the fly.


The BIB front is quite similar to the pants except for the outer seams on the pockets, here you need to have a little longer pockets signs so that you can fold it over the pocket lining due to the openings that will be on the sides. 


And now to the actual BIB.


Placing the waistband on to the BIB and do a stitch and turn.


One more stitch and turn to place it on the leg pieces and then lock it with a stitch all the way around.


And this is how the front looks on the inside, again with the same hickory striped lining as I've had on my latest projects.


I'll stop here, next time I'm going to present the final result. 

söndag 6 maj 2012

The Last Post on Denimhunters

My last article is now up on Denimhunters


I would really like to thank Thomas Bojer for the opportunity. 


onsdag 2 maj 2012

The Beginning of a BIB.

The last project before I go away to Stockholm for my internship has now started, and hopefully I will get it done until I leave. I only have two half-days to finalize it so it might be a little tight.

Here I have cut out my pattern that I've drawn on a silk paper. I used the same basic pattern as on the latest jeans that I've made, but with a few adjustments and of course adding of the bib. The next step here is to trace it on to a harder paper and also add the seam allowances.  

With that done it's time to start with the fabric. I use the same fabric as I did on the latest jeans and jacket, the 13.5 oz Cone denim with a redline selvage. 


There's a lot of pieces to cut out.


All the pieces are cut out and tomorrow I will start with putting them together.  

söndag 29 april 2012

The Jacket is Done

The jacket is halfway done and now it’s time to finish it up. 

Last time I put together the front and the back pieces and the cinch.

Now it’s time to close the side seams.


With the sides closed I do a single stitch. 


I have cut out my arms in two pieces for each arm, so I start with putting them together, the last 12cm I leave open so that I can do a slit. 


With the arms done I just have to attach them to the jacket.


Attaching the waistband with a stitch and turn


A thing that I've realized from the jackets I've done before was that I really missed a hanger. So I add one that I lock under the collar.


The collar on it's way.


With the cuff I do exactly ass the waistband, a stitch and turn. 


Now the jacket is almost done, it only needs a few more details.


A stitch to strengthen the stretch effect.


And here I've added the last details, the buttons and rivets.


As promised before I will explain the stretch effect and how it works.  


On the picture above the jacket is resting nicely on the body, and on the picture below you can se how the fabric grows when getting distressed. And this might come in handy when you do some work ore eat a whole cow or something.


More fitting picture will come up on the blog later on. And also a BIB project that I've already started on.

And if you wane to read more about the making of a jacket check out my girlfriend's BlueThimble blog, she's in the making of a really nice denim jacket with leather sleeves.